How to choose a monitor for photo editing
Choosing the right monitor for photo editing can be a daunting task, due to the number of monitor models and the many factors to consider.
Over the course of more than 15 years, I have had to edit photographs for industries as diverse as tourism, cosmetics, catering and automotive. Therefore, I have had the opportunity to see how different types of photographs behave on different monitors and what are the factors that most affect their quality and fidelity of reproduction.
In this guide I will explain how to choose a monitor for photo editing and give you all the keys on what to consider when choosing a monitor and why. But if you want to save yourself 5 minutes of reading, you can also go directly to our selection of the best monitors for photo editing in 2026.
10 Things to look for in a photo editing monitor in 2026
1. Colour accuracy
Colour accuracy is a determining factor when choosing a photo editing monitor. A photo editing monitor must be able to accurately reproduce the colour gamut you will use when editing your photos, so that your photos appear on screen exactly as they will when printed or published online.
Colour accuracy is measured using a number of different metrics, including:
Delta E
The Delta E (ΔE) value is the result of a mathematical formula that indicates the difference between two colour samples. The less difference there is between two samples, the closer Delta E is to zero.
This value is not always specified by manufacturers, but if you use a monitor calibrator, you will be able to know the accuracy of your monitor.
Colour gamut

Colour gamut is the number of colours that a monitor can display. A wider colour gamut means that the monitor can display more colours. Although there are several colour gamuts, the most common are sRGB, Adobe RGB and DCI-P3.
In general, the wider the colour gamut of your monitor, the more accurately you can display the colours in your images. However, depending on the media you work with, you may want to purchase a monitor that focuses on one gamut or another and save you some money.
- sRGB: It’s the standard colour gamut of Internet. It covers approximately 33% of the visible colour spectrum. If you are going to share your images only on the Internet, a monitor that covers the sRGB gamut may be sufficient for you.
- Adobe RGB: Wider than sRGB, the Adobe RGB gamut covers approximately 50% of the visible colour spectrum. If in addition to publishing on the Internet, you are going to print your images on high quality photographic papers, I recommend choosing a monitor that covers the Adobe RGB colour gamut.
- DCI-P3: It is a wider colour gamut than sRGB and similar to Adobe RGB, since it covers approximately 47% of the visible colour spectrum, only more greens and yellows are covered. It is more recommended than Adobe RGB if in addition to editing photos you are going to work with video.
Uniformity:
Uniformity is a measure of the consistency of colours on the screen. A monitor with good uniformity will have uniform colours from edge to edge.
It is not something that is specified when purchasing a monitor, but be aware that some monitors tend to suffer from some variation in brightness and colour in the corners.
Sometimes it is virtually unnoticeable and can only be detected with a monitor calibrator, but sometimes it can be seen with the naked eye, so keep this in mind and check your monitor when you buy it.
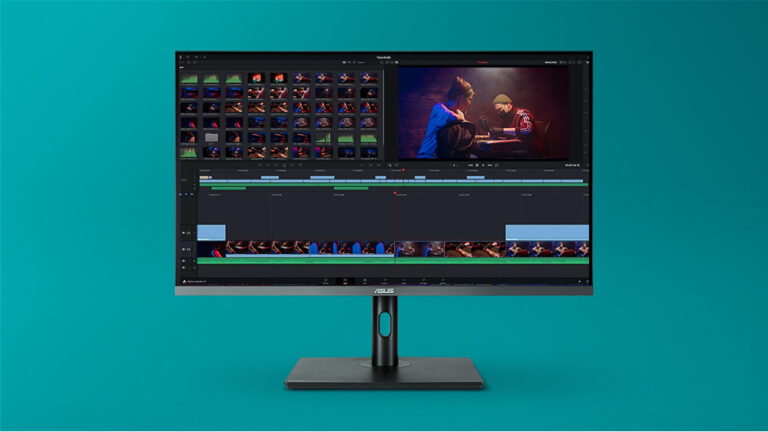
2. Monitor size
Monitor size is also an important factor to consider. A larger monitor with the right resolution will give you more space to work with, so you can view more photos at once or edit large photos at 1:1 scale.
In my experience, the ideal monitor size for photo editing is 27 inches, with 4K or 5K resolution. This size is large enough to provide the workspace most photographers need, with a very good pixel density, and it doesn’t give the feeling of sitting in the front row in front of a movie screen.
However, large monitors (27″ or larger) also have their drawbacks, such as taking up more desk space and costing more, especially those specifically for photo editing for print.
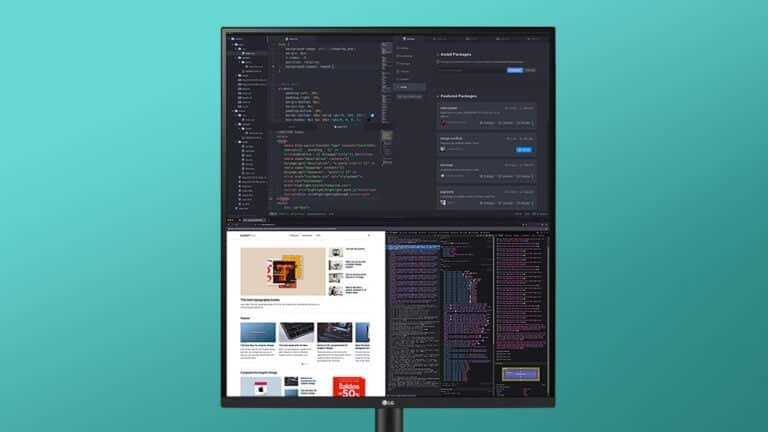
3. Resolution
Resolution is the number of pixels that a monitor screen can display. The more pixels a monitor has, the more image definition the screen offers and, consequently, the more detail you can see in your photos.
However, you also have to take into account the relationship between monitor size and resolution. Between two monitors with the same resolution, say (2560 to 1440), the larger one will have less pixel density or pixels per inch (ppi) than the smaller one, because the same amount of pixels is spread over a larger screen space.
I leave you a table where you can see the pixel density according to which resolution and screen size you choose.
| Resolution | 24″ Monitor | 27″ Monitor | 32″ Monitor |
|---|---|---|---|
| 5K (5120×2880) | 245 PPI | 218 PPI | 184 PPI |
| 4K (3840×2160) | 184 PPI | 163 PPI | 138 PPI |
| 2K (2560×1440) | 122 PPI | 109 PPI | 92 PPI |
| 1080 (1920×1080) | 92 PPI | 82 PPI | 69 PPI |
Although the specifications of some photo editing applications recommend a minimum resolution of 1920×1080, this is very impractical for photo editing, because it provides very little definition even on small monitors. For me, 2560×1440 should be the minimum, 4K the standard and 5K recommended if you are working with a 27″ monitor or larger.
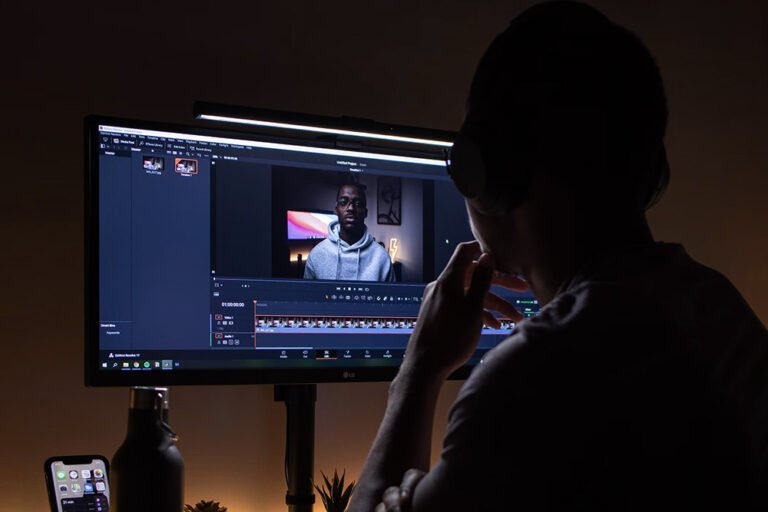
4. Brightness
A photo editing monitor must be able to emit enough brightness so that you can see the photos clearly, even in a room with a lot of natural light that can cause reflections.
The brightness of a monitor is measured in nits or cd/m2 and this measurement is usually specified by the monitor manufacturer. The higher the number of nits or cd/m2, the more the monitor will be able to achieve a higher level of brightness and therefore the less it will be affected by reflections and ambient light when viewing photos.
My recommendation is to choose at least a monitor capable of 300 nits or 300 cd/m2, as this is usually sufficient for most home and office interiors.
5. Viewing angles
The viewing angles of a monitor refer to the range of positions from which you can view the image on the screen without significant changes in colour or contrast.
This is essential if you do not work with the monitor positioned exactly in front of your eyes, but also if you usually view or discuss photos with other people in the same room, since from their angle they may perceive the photo completely differently from the way you see it.
Viewing angles are expressed by two figures: horizontal viewing angle/vertical viewing angle, so 170º/160º would mean that from 170º horizontally and 160º vertically, with respect to the center of the screen, the image starts to be perceived differently.
The viewing angles of a monitor are mainly determined by the following factors:
- IPS panels: have the widest viewing angles (178º/178º).
- VA panels: achieve viewing angles similar to IPS (178º/178º).
- TN panels: have the narrowest viewing angles (170º/160º).
6. Contrast Ratio
Contrast is the difference between the brightest and darkest colours that a monitor can display. The ratio of the brightest colour to the darkest colour is called the “contrast ratio” and the higher it is, the wider the range of colours the monitor can display.
A contrast ratio of 1000:1 means that the white colour the monitor is capable of producing is 1000 times brighter than the black colour. For the contrast ratio, both the maximum brightness and the monitor’s ability to achieve pure black are as important as the contrast ratio, which depends largely on the panel.
In general, monitors with LED panels tend to achieve better contrast ratios than LCDs and CCFLs, but not as high as OLEDs, which can turn off the light from the pixels to produce black colour and thus achieve a purer black.
For photo editing you should choose a monitor with a high contrast, equal to or greater than 1000:1, so that you can clearly see the subtleties between the light and dark areas of images. When choosing a monitor, it is easy to identify the contrast ratio because it is usually specified in its features.
7. Response time
The response time of a monitor is the time it takes for a pixel to change from one colour to another and is measured in milliseconds (ms). The lower the response time, the lower the probability of lag or ghosting problems.
A low response time is essential for correctly displaying fast-paced video games and for other applications where there is a lot of movement on the screen, such as video editing, but it’s not as relevant for static photo editing.
However, since most of us use our monitors for more than one function, here are some criteria for choosing a monitor’s response time:
- Typical response time (7 or 5 ms): The typical response time of today’s monitors is about 7 or 5 ms. This is fast enough to comfortably use most photo editing programs.
- Fast response time (2 ms or less): If you will be editing photos and videos, you will want to choose a monitor with a response time greater than 5 ms. Monitors with a fast response time usually have a response time of 2 ms or less.
- Blur reduction: Some monitors have a blur reduction feature that can help reduce motion blur related to response time. This feature is not very useful for photo editing, but it is useful for improving video viewing, video games
8. Refresh Rate
The refresh rate is the number of times per second that a monitor updates its image. It is measured in Hertz (Hz). A higher refresh rate means that the monitor can display images more smoothly.
Like response time, refresh rate is not particularly relevant for photo editing, but it does improve the user experience of applications, in general, because anything that moves on the screen will move more smoothly.
Here are some criteria for choosing the refresh rate of a monitor for photo editing:
- Typical refresh rate (60 Hz): The typical refresh rate for a monitor is about 60 Hz. This is sufficient for most photo editing needs.
- High refresh rate (>120 Hz): If you will be editing photos and video or plan to play video games on the same monitor, it is recommended that you choose a monitor with a high refresh rate of 120 Hz or higher.
- Variable refresh rate: Some monitors have a variable refresh rate (VRR) feature. This allows the monitor to adjust its refresh rate to match the frame rate of the graphics card, which helps reduce screen tearing and stuttering.
9. Ports and Connections
The ports and connections that your monitor accepts can limit the capacity of the image and video signal that your computer is able to reproduce. Let’s say that they end up acting as a funnel, so it is not superfluous to take this aspect into account:
| Port | Resolution | Refresh rate |
|---|---|---|
| HDMI 1.4 | 1080 (1920×1080) 4K (3840×2160) | 120 Hz 30 Hz |
| HDMI 2.0 | 4K (3840×2160) | 60 Hz |
| HDMI 2.1 | 4K (3840×2160) 8K (7680×4320) 10K (10240×4320) | 120 Hz 120 Hz 120 Hz |
| DisplayPort 1.2 | 4K (3840×2160) | 60 Hz |
| DisplayPort 1.3 | 4K (3840×2160) 5K (5120×2880) 8K (7680 x 4320) | 120 Hz 60 Hz 30 Hz |
| DisplayPort 1.4 | 5K (5120×2880) | 120 Hz |
| DisplayPort 2.0 | 10K (10240×4320) 16K (15360×8640) | 60 Hz 60 Hz |
| Thunderbolt 3 | 5K (5120×2880) 8K (7680×4320) | 120 Hz 60 Hz |
If in addition to using the monitor for photo editing, you want to use it to play video games, take into consideration the specifications of your console in this regard. We explain, for example, in our guide to the best monitors for PS5.
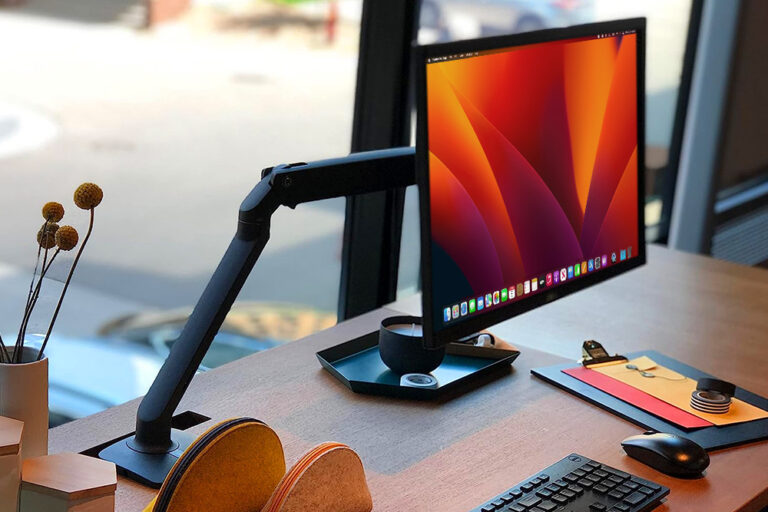
10. Ergonomic adjustments
You should take ergonomic adjustments into account, specially if you are a tall person or if you suffer from back and joint pain after spending hours in front of the computer.
While this is a problem that can be solved by purchasing a good monitor stand separately (check out our guide), you can save money by buying a monitor with a wide range of ergonomic adjustments.
If your plan is to work with two screens, the monitor and your laptop, you will probably prefer to have them aligned at the same height, for which I recommend you also purchase one of the laptop stands that you can find in our guides.